1931 Ford Model A Roadster

1931 Ford Model A Roadster

Wednesday, December 23, 2015

Roadster Quarter Panel Replacement

This week I decided to take off the bottom of the bad drivers side quarter panel and make a new one.


The first picture shows the old section cut loose from the quarter.  As you can see it was rotten and full of holes and bondo. 


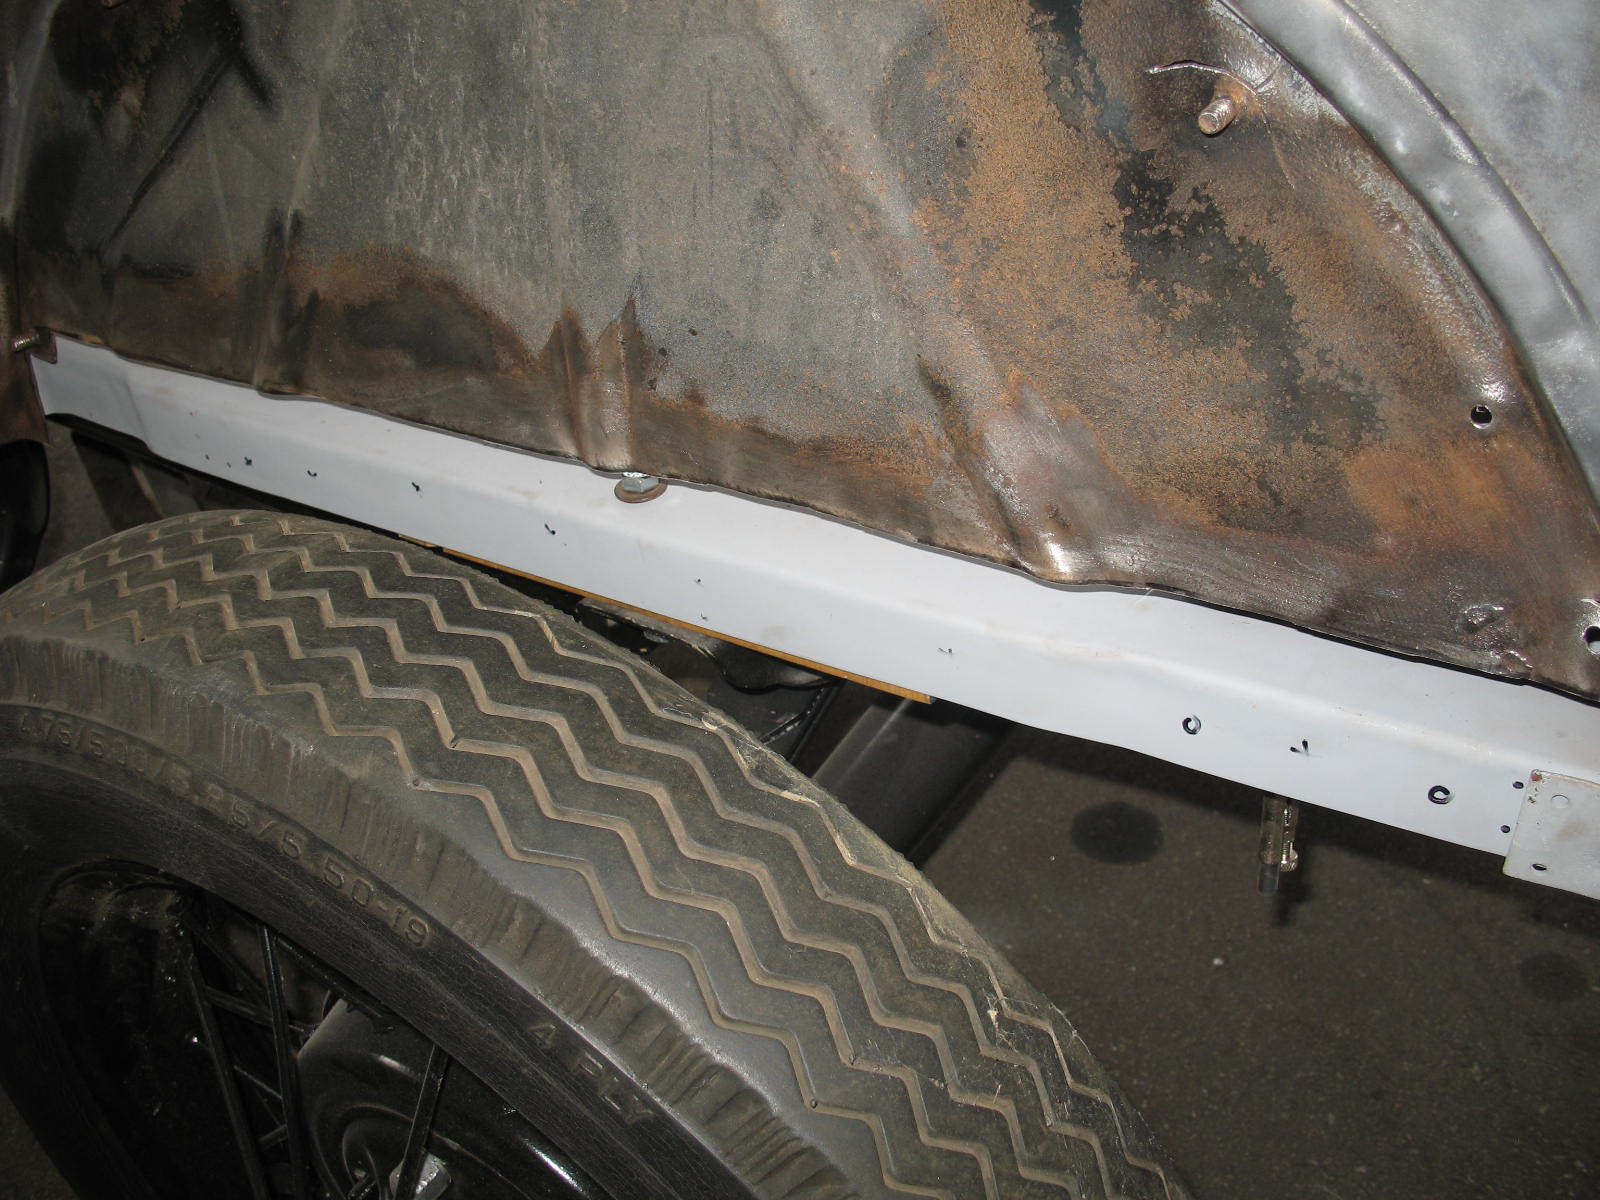
The second and third picture show the new panel cut and being fit into place for welding.  I cut the fingers on the patch to allow the panel to curve and to fasten and space it to the sub rails.  The contour on the edge did not match up to the original quarter so I had to hammer and dolly it to make it match. 


The fourth picture show the patch welded in and ready for final metal smoothing. 


The fifth picture is a view of the patch from inside the quarter.  Tomorrow I will finish welding up all the holes and cracks on this quarter and get it ready to prime.


Saturday, October 3, 2015

Driver's Door Repairs

Using the new door skin as a template, I started making a new bottom for the inner door panel that was rusted away.


The first picture shows the new 22 ga. panel being shaped to fit and tack welded in place. 


The second picture is the old latch that was welded in to the old door being used as a template to locate mounting holes so a new latch pocket could be constructed.  There is no adjustment here so it has to be exact.


The third picture shows the new inner door bottom finished and ready to crimp the new skin over the flange on the bottom. 


The fourth picture is the new door skin being crimped over the new bottom flange.


The fifth picture shows the hinge side being crimped.  All crimping was done with hammers and dollies so I could control the edge of the crimp and keep a nice crisp line.


Picture six is the latch side being crimped.  I installed the hinges before I started crimping and as I started the crimp on each side, I hung the door so I could see how the reveal was working out.


 Picture seven shows the door hanging on the car from the hinge side.

Picture eight show the door's latch side.

Picture nine show the doors fit from inside the car.

Picture ten shows the door hung from the outside.  

Overall the fit was better than I expected as I had heard the new door skins required a lot of tweaking to get them to fit correctly.  Thankfully this was not the case. It only took a few hours to get the new skin on, but it took many hours of welding and a tank of argon to get the old inner panel in good enough shape to reuse.  The "D" nuts for the latches and check straps were gone so they all had to be installed.

Picture eleven shows the fit at the front windshield support post.  It took a lot of fitting to crimp this compound curve.  Lots of light taps with a good fitting dolly under each tap and it folds over like butter.

Last pic is the fit at the beltline where the side curtain hardware goes.  This will have to have some more tweaking but fits pretty well.  Actually the quarter panel has been dented at the beltline and will have to be worked to match the new door skin.  But the quarter panel is coming off next to weld in the patch panels.  Then I will start on the passenger side doing  the same thing there. 

I primed and painted the inside of the new door skin and coated the inner panel with a rust inhibitor before putting them together.  Between the two panels originally was a pad of paper filled with excelsior to keep the two panels from rubbing together, however it held moisture and caused rustout.  I used a thin sheet of closed cell foam instead.  Picture nine, above, shows the two tabs that hold it in place (the two white spots in the center of the door panel.)


Monday, August 24, 2015

More Driver's Door

Today I decided to see if I could get the latch and hinges out of the driver's door that had been welded in.  

Hinges and Latch

I used a 4 inch cutoff tool and cut the welds between the door and the hardware.  Then I drilled out all the screws as they were welded and screwed together.  I was able to save the hinges  and the latch but the latch is so worn out I will get new ones.  Then I decided to see if I could separate the inner and outer door skins.

Inner and Outer Apart

Originally they are spot welded at the top and crimped on the other 3 sides but this one had welds everywhere.  I ground out the welds and opened the flange on the perimeter and was able to get the rotten outer skin off.

Bottom Corner

Bottom Corner

Inner Skin with Latch Cut Out

Bondo

   The inner skin will need some welding to repair cracks and holes, and I will construct a new bottom lip and corner and  new pocket for the latch.  

Inner Skin Hung on car

Latch Pocket Needs Repair

Then I hung the inner panel back on the car to see how warped it was and with a little work it fits pretty well.  I will order a new outer skin and fit it to the old inner skin and with a little time, re-use this door.  In the last picture, notice the large caliber bullet hole by the latch.  Hope no one was sitting in the driver's seat when that happened!   Steve


Wednesday, August 19, 2015

Left Rear Quarter Panel

After the door issues, it was good news that the left rear quarter panel was typical or better for its age.  

Rear Corner

The rear corner which is usually rotted was in great shape, save for a few dents that were bondo'ed over.  

Upper Quarter

The upper corner was only split a couple of inches and filled with brass welding rod which will have to be removed to weld it properly.  

Bottom Quarter

The lower quarter was only pinholed with rust and a short lower patch panel will fix easily.  

Wheelwell Cutout

We had to cut four inches of the lower wheelwell out which is very typical of roadster rot.  

Old and New

Next photo shows the new patch panel over the old cut section.  

Fitting Wheelwell Patch

Patch

Next is fitting the new patch panel in place and getting ready to weld it in.  

Inside View

Inside Back Corner

Left Rear Corner Patch

All in all, it was a very good "A" day!  Steve


Driver's Door

I sort of knew we had a problem with the driver's door as it weighed twice as much as the other one.  Well, bondo spread over an inch thick all over the door is going to add pounds.  Throw in the window screen wire and you have a great unuseable door. Harry came by today to help speed up the restoration and we sanded the bondo out of the left door and quarter panel.  There is not much useable here!  It's either find a used drivers door or spend $ to get a new one.  Booo Hoooo!

Top of Door

Door Top

Door Corner at Lower Hinge

Inside Door Corner

Hinge Weld

Bondo Over 1-Inch Thick

Latch Welded In


Monday, August 17, 2015

Rear Corner Braces

The triangle rear corner braces support the rear quarter panels and tie the quarter braces, subrail, and quarters together along with attachment points for the curved inner panel below the rumble seat.

Cracks and Holes
Ready to Weld

Cracks

Extra Holes
  The originals were full of extra holes from someone using a torch to remove them because they had been welded together in addition to the original bolts, along with lots of stress cracks from years on the road.  

Old and New Corner Braces

They were so bad that I bought new ones to use but upon trying to fit them it became apparent that it would be easier to repair the originals than to make the new ones fit.  


So I welded up all the cracks and filled in the holes with leftover pieces cut out of the subrails.  Then I primed them and started to test fit them in the car.  


The last two pics show where they go on the car and how they tie the rear section of the body together.  I want to temporarily assemble the entire body before final riveting so I can adjust body parts as I go along to get the best fit possible.  Steve