Left side done, right side fit and tacked. I ran out of argon so I called it a day.


Left side done, right side fit and tacked. I ran out of argon so I called it a day.
I was hoping I was done with rot, but I sort of expected the bottom of the cowl to be bad. Sanded the paint off and sure enough, bondo again. First pic is the right side, second is the left side cut out, third is the inner brace cleaned and primed, and last is the new panel being fitted for welding in place.


After removing all the tar undercoating from the rumble lid I could now weld up all the cracks around the hinges and in the center. Someone had converted this to a trunk lid at some time past and in order to put in a latch they cut out the inner panel in the bottom center. This let the deck lid flex so it cracked right down the center. Today I reproduced the piece they cut out and welded it in and then welded up all the cracks. A little finishing touches and the rumble lid will be ready for primer. First pic is the missing piece, next is the replacement, then a welded crack by the hinge.


After finally getting the rear quarter panels spread apart to fit the rumble lid, I decided to strip the lid and see what kind of shape it was in. Somewhere in time someone decided that some tar undercoating would be a great thing to spray on the inside of the lid. I tried paint remover, acetone and Lacquer thinner but it only cut the top layer. So I decided to scrape it off by hand. Two days later it was all off. There is a quite a bit of welding required to fix the lid so I had to remove the tar or watch it burn up during welding. Where the tar was thick it came off easily but the thin stuff took work. As you can see it looks like this car was a trunk lid car before it was a rumble seater so someone welded up the trunk latch holes. I took off the hinge brackets and cleaned up around them as metal fatigue has caused some cracks that need welding. Overall this lid needs less work than all the other body parts so I'm happy with the results. Last pic is the outside with all the bondo and primer removed, ready for some welding.


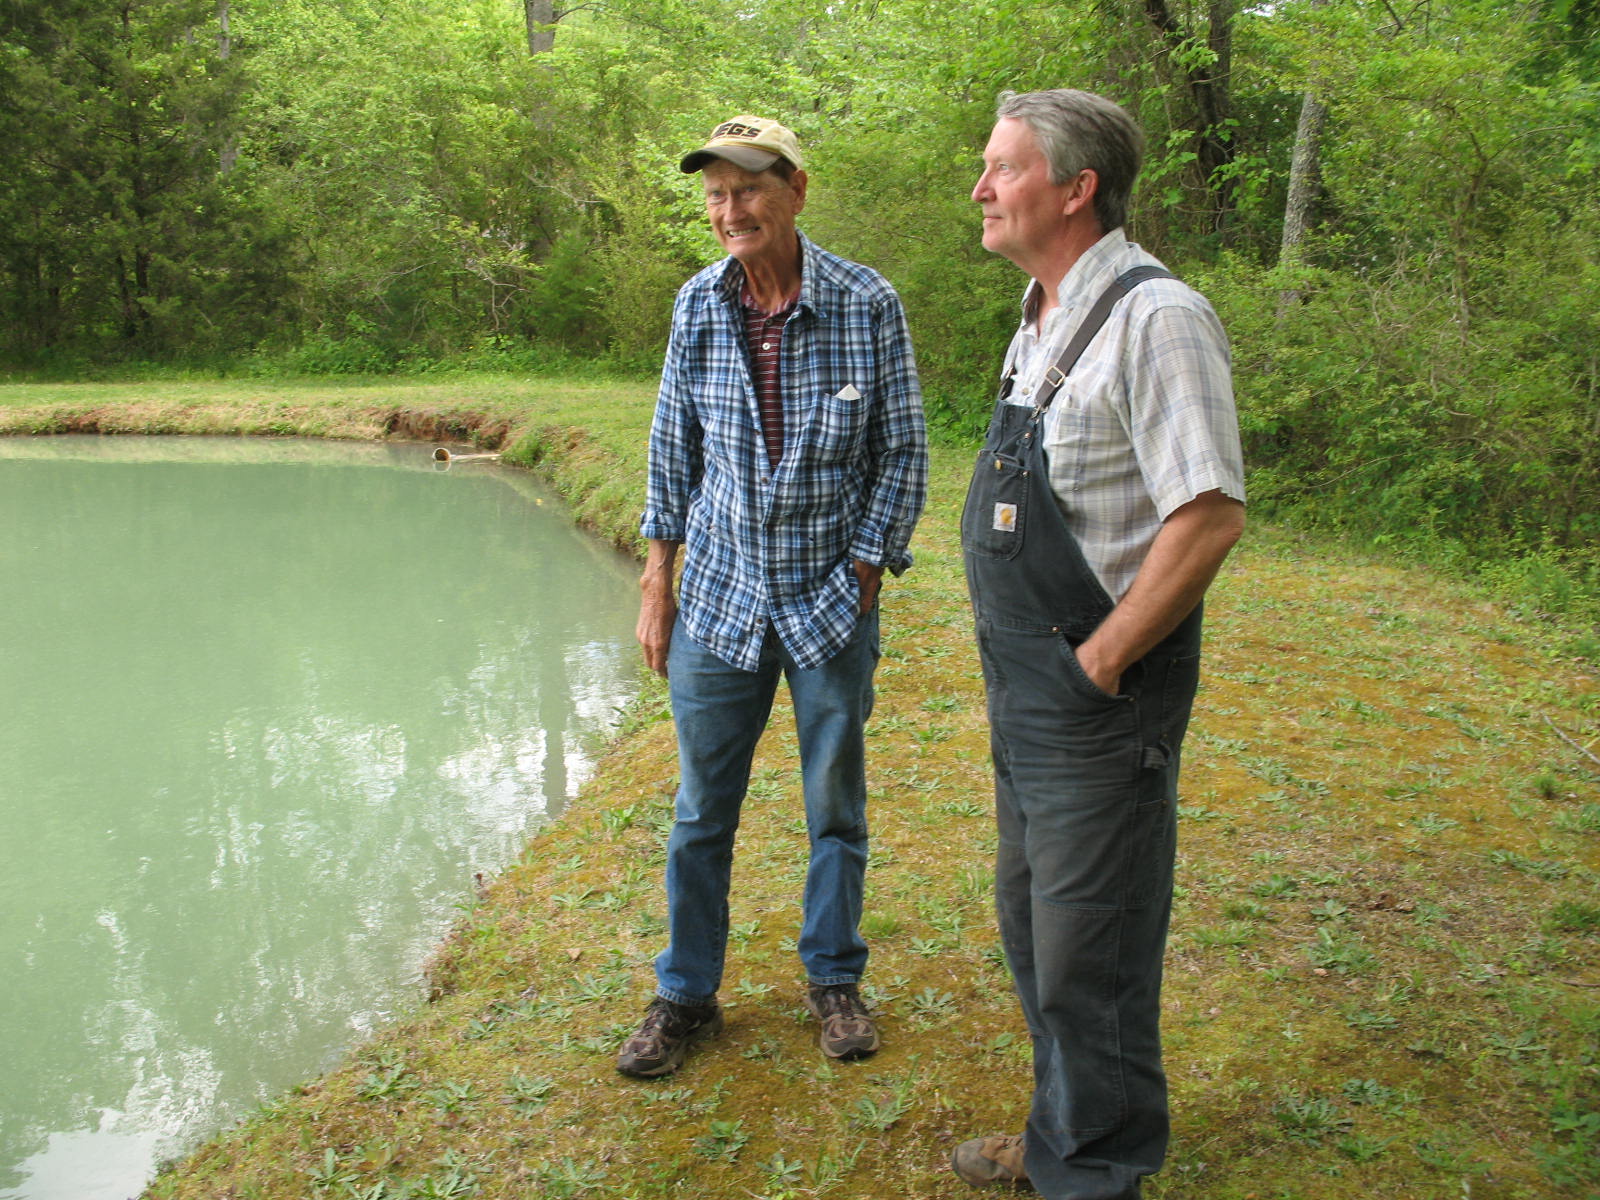
So, We get the frame and cowl out of the woods and Mike and Harry and I go back to Mr. Ward's because he has the original stones that were used to crush the gold ore from the Bechtler mining operation.


Behind Mike is the Dam and race that fed the water wheel that spun the stones used to crush the raw ore to extract the gold. After all, we were in Golden Valley, NC. There were two large stones embedded in the bedrock of the creek across from where we got the frame. On top of them were two smaller stones spinning and crushing the ore to be mixed with mercury "quicksilver" as Mr. Ward put it. Them Bechtlers didn't know much about quicksilver as it killed them both early!

Google Augustus and Christopher Bechtler or stop by the Bechtler Mint Muesum and home in Rutherfordton NC. So, you get a car adventure and a history lesson all in one day! Thanks everyone involved for a great adventure, hope the poison ivy rash doesn't show up!
After separating the two main parts we set about more clearing of a path through the woods to carry them out. Mostly small trees, vines and POISON IVY. Me and Harry took the big end and Mike took the front frame horns and off through the woods we went. Twice we had to stop and turn the frame sideways to get it between trees but we cleared the woods, the hillside, the swamp and got it to the truck. Now go back for the cowl and tools. Can you ID this beautiful green plant?


Yesterday Walt and I took some wheels to the sandblaster. While we were there we went to visit a friend of Walt's nearby to see his car collection. He took us back in the woods where he had left an A model frame and cowl years earlier and said we could have it if we could get it out. I was planning on going back with Walt and Mike and Miles to get it at some time. BUT, this morning Harry called and wanted to know if I needed any car help.... so I said yes, I'll pick you up in a few minutes. Then I called Mike and he agreed to meet us at the spot. Just so happens this was across the street from the Bechtler gold mining operation from 1831 to 1849, but more on that later. We arrived at the overgrown hill and cut a road in so we could get the car out. With a little hacksawing and vine clipping we had it separated into two pieces that we thought we could carry out. The first four pictures show the frame as we found it and the last two show us getting the cowl separated from the frame. Part 2 next.


I finally got the rear body panel and curved inner panel, rumble stops, rumble stop braces and rear spare tire carrier brace installed today. This was the toughest fit so far. 39 holes had to line up exactly to bolt it together and since the riveting is done it was tight. But at the end of the day everything fit together.


After we got all the rivets in, the new bottoms of the quarter panels had to be crimped over the subrails and welded in place. Walt let me borrow his spotwelder which worked like a champ. Since the Roadster chassis is now running, I've had so many requests for rides that today I added an extra seat for any brave soul that wants a ride!


Burned up the neighborhood today in the hot roadster! The neighbors took the pictures. So much fun.


Harry finally finished his house project so he could come over and help finish the riveting. I had the body back together with tiny bolts waiting until he could come over and help rivet. One of us has to buck the rivet and the other one run the gun so we swap off a lot. I took all day but we finished her up, then took it off the dolly, stood her on her nose and sanded and primed the bottom panels and riveted parts. A good day thanks to Harry!


I'm getting closer to test drive time and I needed some way to support a gas tank, radiator, the temporary steering column, the coil and wiring and choke rod. Then I remembered I had a spare cowl on the trailer in the back yard so I installed it today. Radiator is now supported, steering column supported, choke rod installed. I will put new gaskets and float on my gas tank and install it in the cowl and I can check out the tank before paint to be sure it doesn't leak. Tomorrow I will get new battery cables and coil wiring done. Walt gave me new spark and gas rods so they are installed also. More tomorrow.


Today I got finished with the brakes.

The first picture is the service brake and emergency brake cross shafts and arms installed with the brake rods.

The next picture is the brake rods going to the rear wheels, one is service brake and the other rod is emergency brake. You can also see the brake return springs attached to the rods.

Third picture is the battery installed in the car and the pedals and linkage around it. As you can see there is a lot there and that is why I waited to get the body together before I put the running gear in or I would have had to try and rivet around it all.

The car didn't have emergency brakes when I got it. Walt gave me a brake handle and I fabricated the bracket to attach it to the transmission and all the linkage to hook it up. The next picture shows the linkage attaching the hand brake and the support for it. You can also see the brake light switch coming out of the crossmember on the drivers side.


The last picture shows it all together with the exhaust system and radiator in place. Next I have to do some temporary wiring and fuel system so I can test drive it.